


Finished Project
If you want to skip ahead and see what the Resume looks like, check it out here:
Introduction
I came across this challenge after completing my Solutions Architect Associate Certification. In an effort to gain more hands-on AWS experience, I went to the Reddit threads for suggestions. I found a post detailing how someone built a resume and hosted it using AWS services. As someone looking for a job, I knew this was my project.
Forrest Brazeal built this passionate community of cloud developers looking to improve their skills and build projects. I joined the Cloud Resume discord and scoured the Hall of Fame section on the challenge. I read nearly every blog and went over every resume for inspiration and some direction.
There were 16 instructions on the website and I will go through a summary of them below.
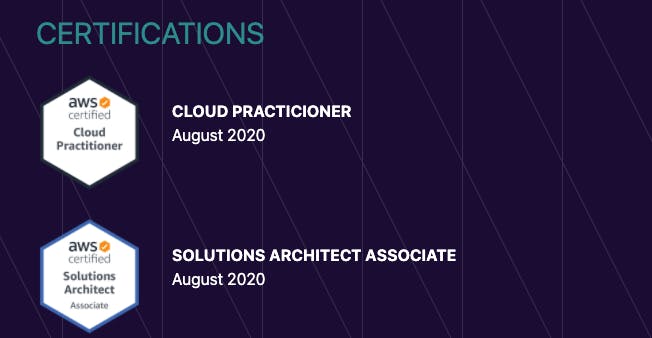
Certification
This was the easiest part of the challenge...because I found it after I already had passed two certifications.
Passing the certifications is never easy. There are a ton of different resources out there to help with passing the exams. I used Stephane Maarek's Udemy Course and Tutorials Dojo's practice exams. A more detailed description of how I passed the Solutions Architect in 120 hours of study over 3 weeks can be read here.
The AWS Certifications are intense and no easy feat. It's a great learning experience for anyone trying to break into the Cloud world. You will learn a ton about AWS, but it's great to get some hands-on experience building projects. So this is where the resume comes in.
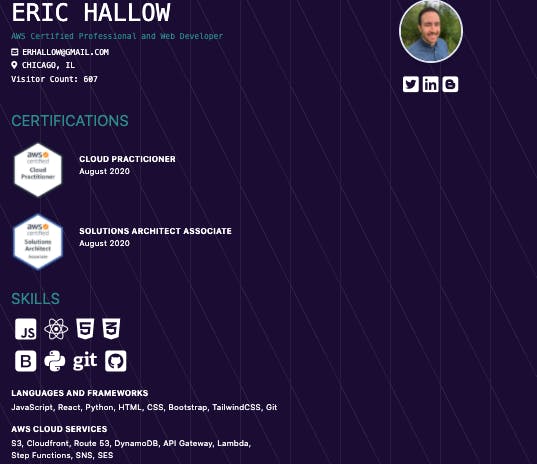
Build FrontEnd (HTML/CSS/TailwindCSS/React)
For the frontend of this project, I decided to utilize Create React App. I have used this multiples times in the past and it's an easy way to bootstrap a project. I wanted to focus on having a sleek design of the website and learn some new technology. In the past, I have used bootstrap. This time I decided to try out TailwindCSS. It is now my go-to for CSS frameworks. I found it much easier to create a responsive website with Tailwind than other methods.
The frontend took me roughly a day to get everything clean and organized the way I wanted. I added a static visitor count that I would code later on to change with every site visit.
Host the Website and configure the Domain
With the frontend built, now I need to configure the hosting. I had to use multiple different AWS services. I created my S3 bucket for static hosting. I initiated a Cloudfront Distribution for security and content delivery at scale. I purchased my domain erichallow.com and routed everything accordingly through Route 53.
Route 53 -> CloudFront distribution -> S3 Bucket
S3 Bucket
I created one S3 bucket for my frontend code to host, one for backend code, and one for CI/CD I would later implement in Code Pipeline. I utilized the AWS CLI through the terminal to deploy my code to the S3 bucket. I did this by editing the scripts in my package.json file. The CI/CD wasn't set up yet, so I would just run "yarn build && yarn deploy" to make updates

Static hosting is very straightforward. In the S3 bucket properties, click on Static Hosting and follow the few simple steps.
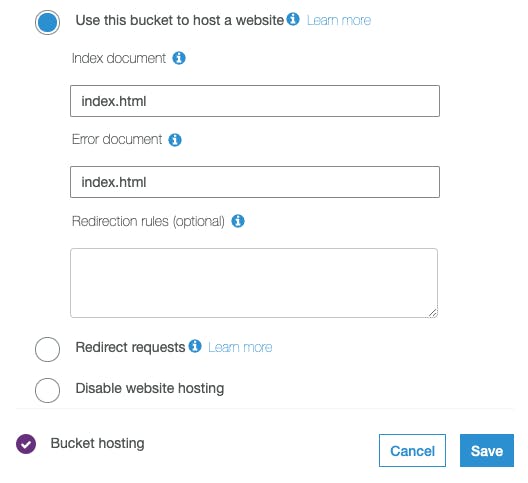
In addition, I created a bucket policy with the appropriate actions allowed. Because I have yet to register a domain, I used the provided AWS link to access the bucket site. It will look something similar to this: your-bucket-name.s3-website.your-region.ama... It's not advisable to use this address for the finished website, so I needed to launch Cloudfront.
Cloudfront and Route 53
We don't want our users to directly access the bucket link. This is where Cloudfront and Route 53 come in. I created a Cloudfront distribution and set my S3 bucket as its origin. For more information on how to implement this, check out the AWS documentation. Once that was all set up, it was time to purchase a domain and do the appropriate routing in Route53. I ran into a few small hiccups along the way, but overall this was a pretty painless step.
With all that set, I had my website: erichallow.com
Creating the Visitor Count with API Gateway, Lambda Functions, and DynamoDB using SAM Templates
SAM Templates
SAM, or Serverless Application Model, is a framework for developing and deploying serverless apps. We can create YAML templates that will be launched to deploy our services. Here is a sample snippet of the code below. This launched an API gateway with a path that I designated using the GET method.
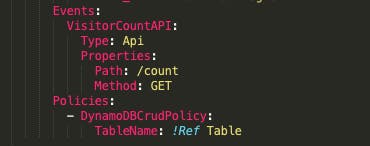
SAM can be frustrating to get the hang of when you use it for the first time, but it will save a lot of time in the long run. It took me some time to create the template correctly. When it was finished, it deployed the API Gateway, Lambda Function, and DynamoDB.
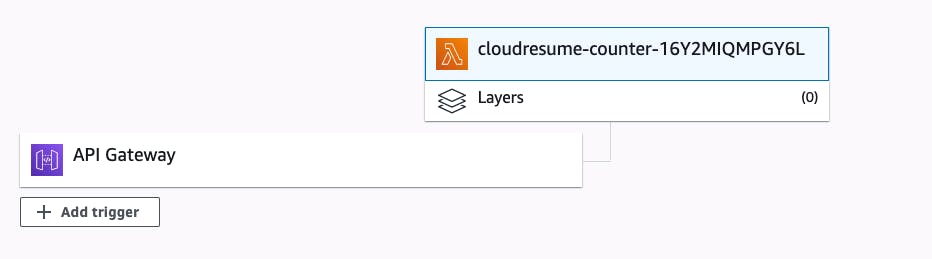
API Gateway -> Lambda Function -> DynamoDB
From our frontend React code, we can access our API Gateway with a little bit of Javascript. The Lambda Function is the link between our DynamoDB table and API. When the API is called, it will trigger the Lambda Function as seen below.
The Lambda function is coded in Python to access the DynamoDB table and call a method named update_item. This method will update our visitor count, visitNum, in the table. This will now update on our frontend.
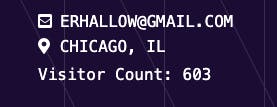
This whole process to create the visitor count was an amazing learning experience. I gained confidence in deploying services from SAM templates. Python was the first language I ever learned, and it was great to go back to that with the Lambda Function. The most satisfying part of it all was refreshing the website and watching the site counter work.
CI/CD
Now that the application was functioning correctly, it was time to set up CI/CD (Continuous Integration/Continous Delivery). Any time I want to make an update to my code, I can push it to Github. I connected Github to AWS Code Pipeline which will run a YAML template to build the application and update the files accordingly in the S3 bucket.
Github -> AWS Code Pipeline -> update S3 Bucket
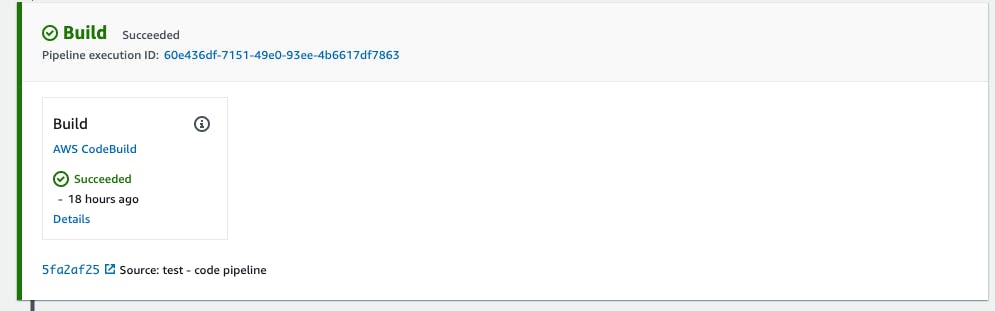
This allows me to easily update my application while maintaining my codebase in Github.
Takeaways, What's Next, and Where to Follow Me
I learned way more than I could have imagined going into this project. The AWS Documentation was immensely helpful for all of the steps of this resume. The community discord was a great way to get support and direction when I ran into problems.
The end result was a simple website with a visit counter, but the skills I acquired creating the infrastructure behind it will allow me to make serverless applications that can scale. I can make increasingly complex applications with more functionality because of this.
I am currently looking for positions working with Cloud Technology. Stay on the lookout for more projects!
- Follow me on Twitter
- Connect with me on LinkedIn
- Check out the finished project at erichallow.com